MetaMask Setup Guide
In order to create and view FundMe Smart Contracts on this website you must have an etherium wallet called "MetaMask"
MetaMask is your new way to transfer funds on the Blockchain Etherium network! Sound scary? It's not!
We're here to help you with a handy guide to get you set up!
Downloading and Installation
Step 1
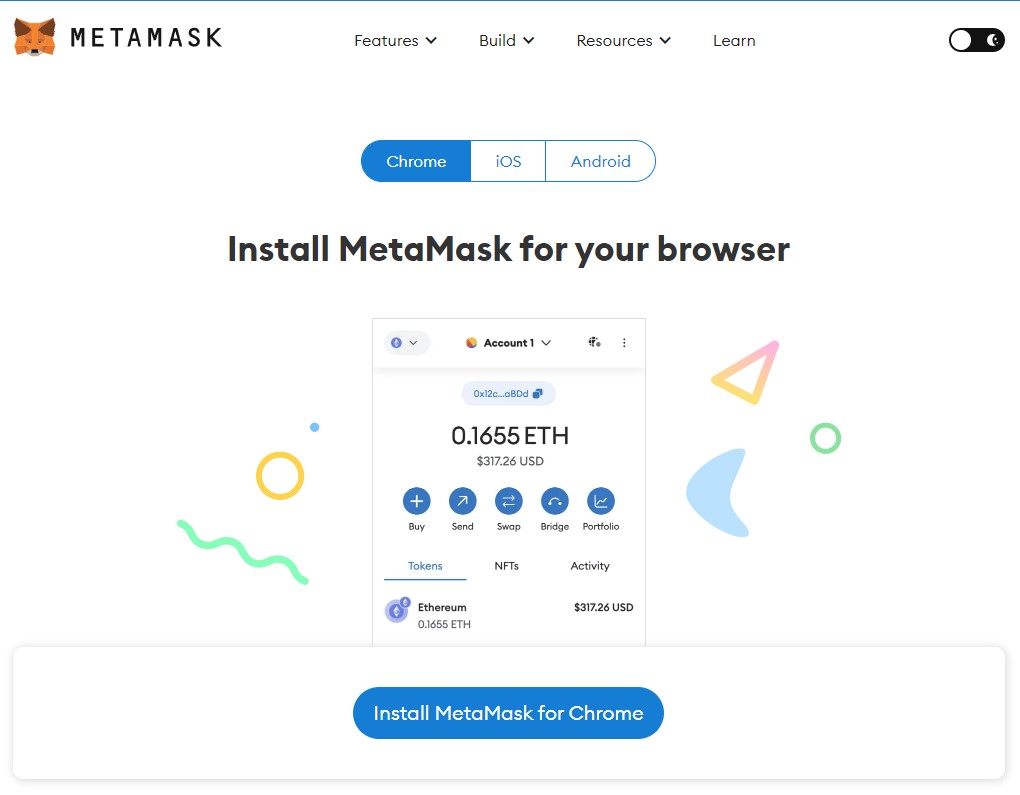
MetaMask.io Download pageClick the above link to navigate to the MetaMask download page for your current browser.
From here you want to click the "Install MetaMask for Chrome" button.
Step 2
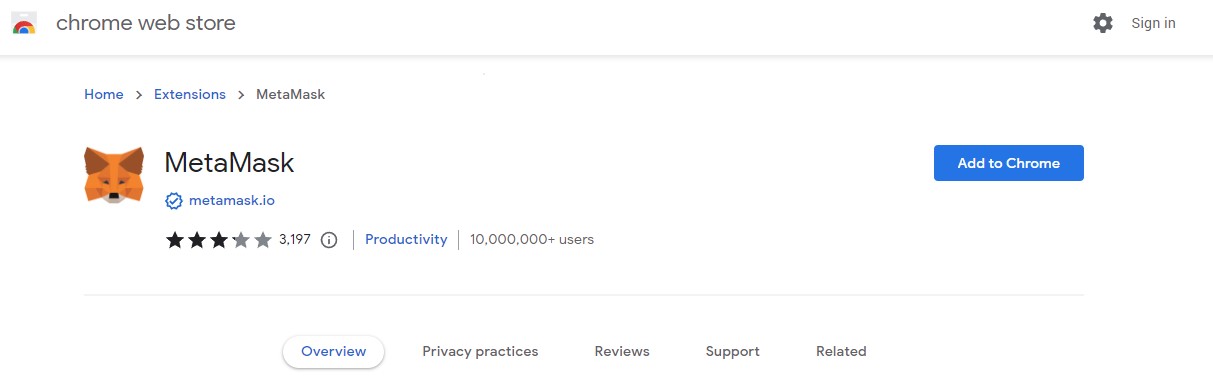
You will be taken to the web store of your browser. From here you want to add the extension to your browser by clicking the "Add to Chrome" button
Step 3
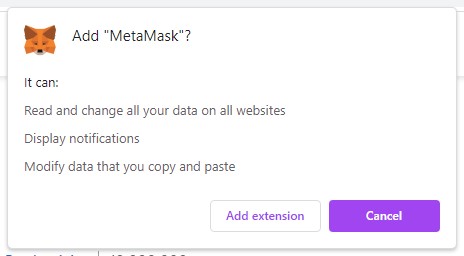
You'll be asked by your browser to install the extension, click "Add Extension"
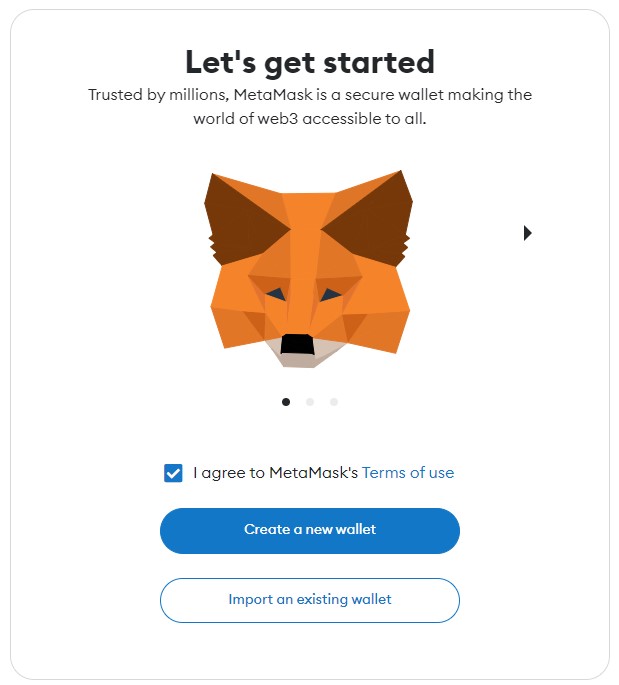
Step 4
Once the extension installs, you'll be taken to a page to set up your MetaMask account. Click "Create a new wallet" to get started.
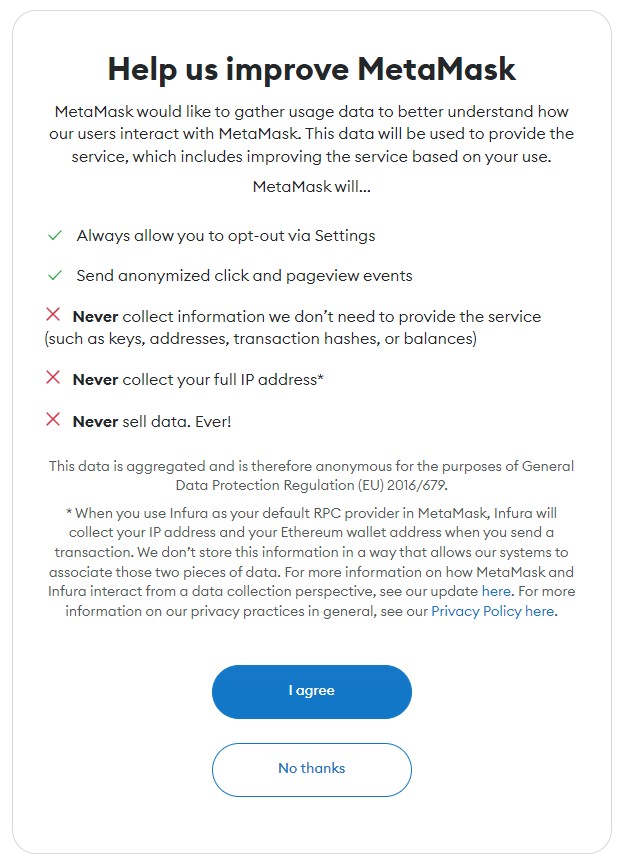
Step 5
MetaMask will ask if you want to submit data during your usage of the extension. Fell free to click "No Thanks" if this isn't something you want.
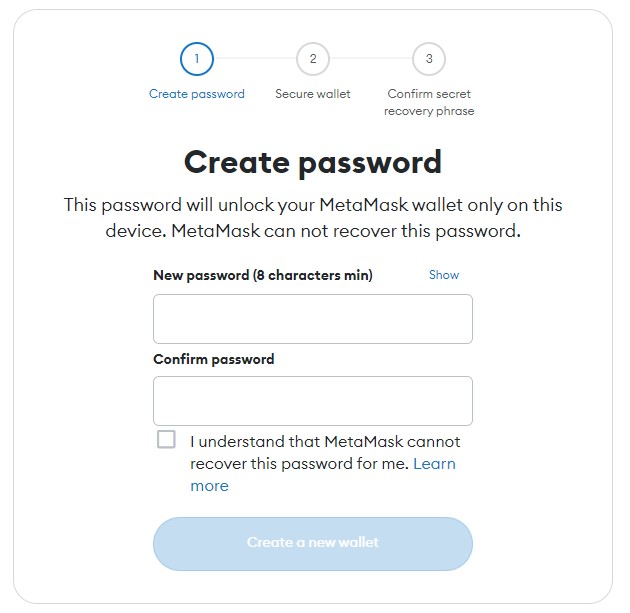
Step 6
You'll be asked to create a Password for your MetaMask account. Enter a strong password that you will remember and click "Create a New Wallet" to continue.
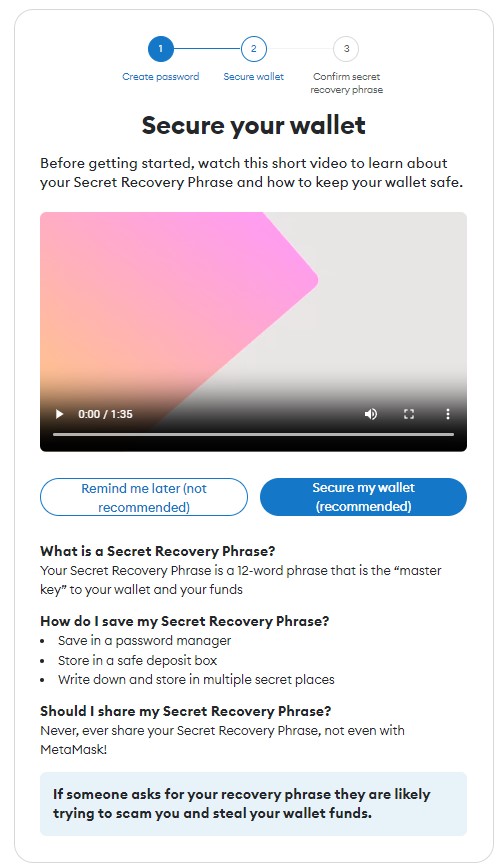
Step 7
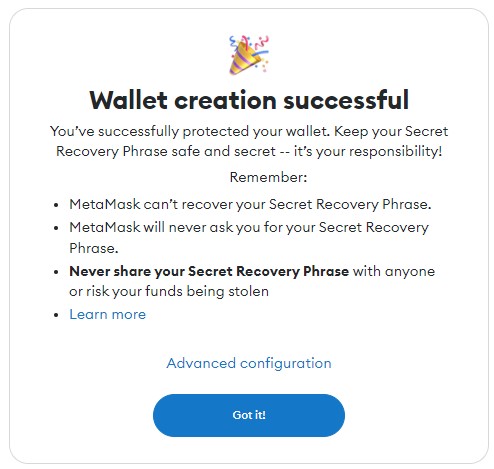
MetaMask will ask you if you want to secure your new wallet, for the purpose of this guide we will not be going into this feature, but if you would like to better secure your account, feel free to click the "Secure my wallet" button. Otherwise, click the "Remind me later" button to continue.
Step 8
That's it for the installation! Next we'll get to setting up your MetaMask to use the Goerli network for this website!
Using the Goerli Testnet
Step 1
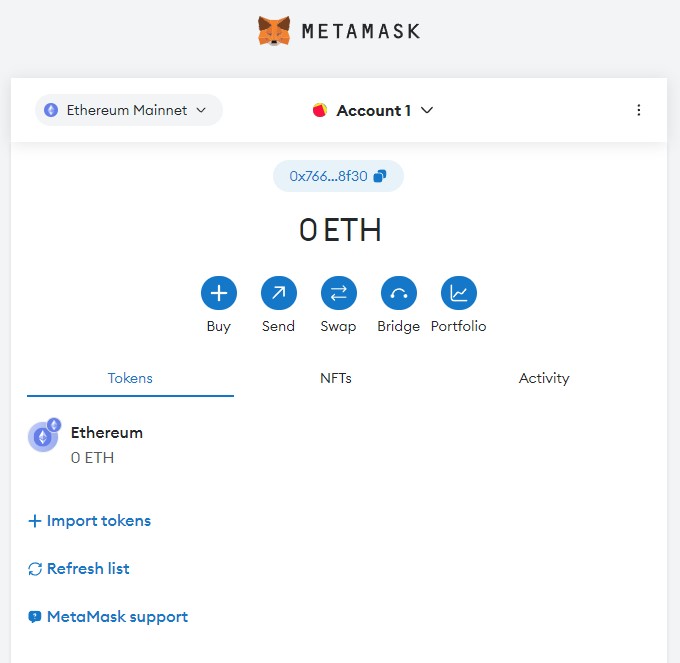
Welcome to the MetaMask plugin! Here you can view everything about your MetaMask account. As this website currently uses the Goerli test network, we need to change our MetaMask blockchain environment from the defaul "Ethereum Mainnet" to the "Goerli" test net.
Click the button in the top left of the page that says "Ethereum Mainnet" to open the network selector.
Step 2
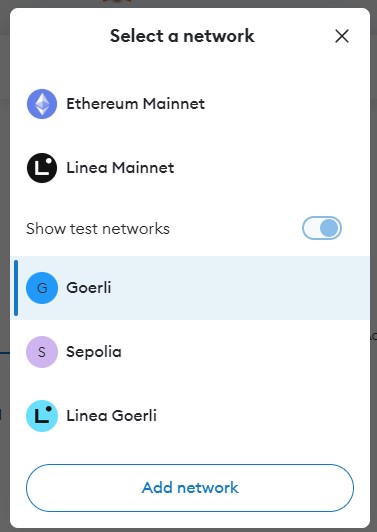
Here we have a list of available networks, to see the test networks, click the "Show test networks" button to show all of the test networks. From this list, select "Goerli".
Step 3
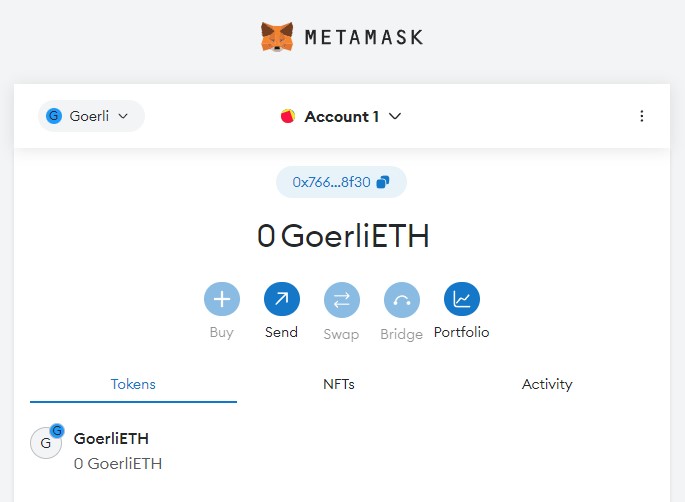
All set! If you want to copy your wallet address, Clicking the button with the number begining in "0x" will copy it to your clipboard.
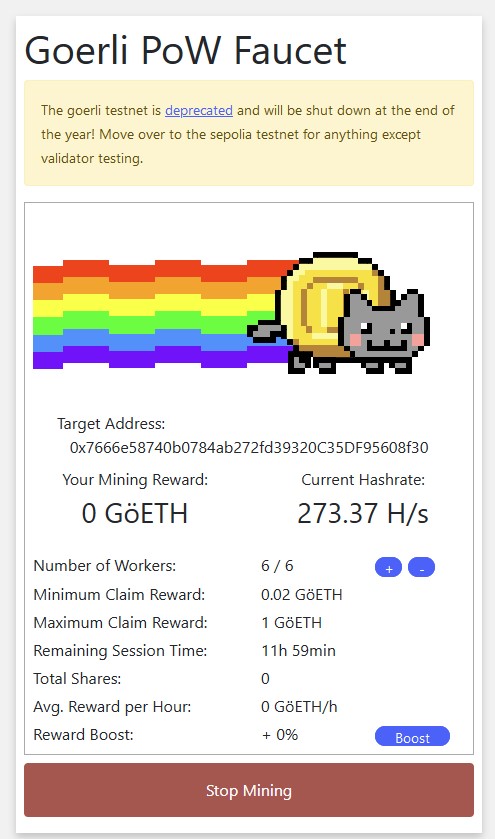
How to get GoerliETH
In order to create and contribute to contracts you need to have funds to pay for them. As this is a testnet we wont be using real money, instead we need to "work" for our currency, or "mine" as it's called in blockchain terms.
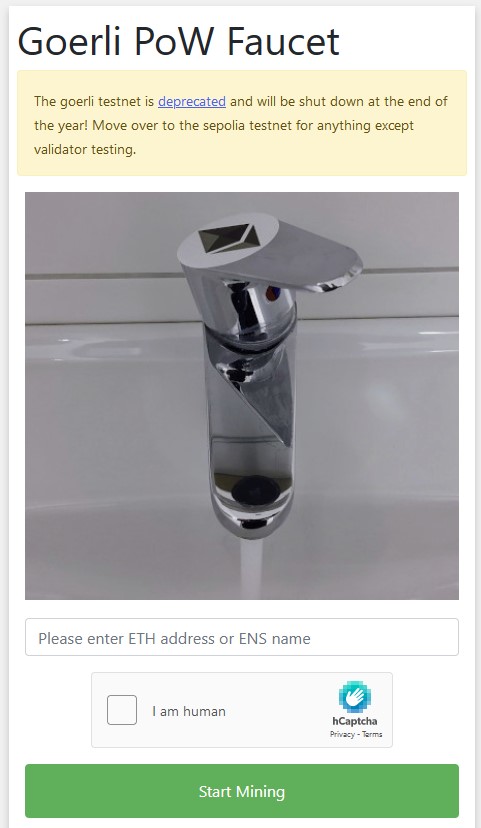
To do this we need to find what's called a "faucet" to begin mining our funds. We can do this using the Goerli PoW Faucet
Step 1
First navigate to this link Goerli PoW Faucet
On this page you want to paste you MetaMask account address into the ETH address field, complete the "I Am Human" captcha, and click start mining.
Step 2
From here your computer resources will begin "mining" hashes and doing work on the Goerli network, earning you Funds.
This may take some time, so be patient, and when you feel like you've got enough you can stop mining.